If your photos are in focus yet still appear blurred, there’s one easy way to take sharper photos and that is to set your own shutter speed.
Now, before you get nervous – setting your shutter speed is easier than you think. It is so easy that you’ll be up and running in the five minutes it takes to read this article. So, without further ado, let me introduce you to shutter speed and shutter priority mode. Jump to Conclusion
Table of Contents
- What is shutter speed?
- Why your shutter speed is blurring your photos
- Setting your own shutter speeds for sharper photos
- Conclusion
- Learn a few photography tricks
What is shutter speed?
Your route to sharper photos begins with shutter speed. Shutter speed is measured in seconds and is the amount of time your camera’s image sensor is exposed to light.
For example, if you set your shutter’s speed to 1/500th of a second, your film/sensor will be exposed to light for 1/500th of a second.
As you might expect, your shutter speed has a massive impact on how bright your photo appears. For example, a 2-second exposure will result in a photo twice as bright as a 1-second exposure.
However, you’re not here to read about exposure but if you want to know more, check out my beginners guide to aperture and ISO.
Why your shutter speed is blurring your photos
Before I give you my quick fix, you must understand why shutter speed results in sharper or blurrier photos.
Take Sharper Photos of Moving subjects
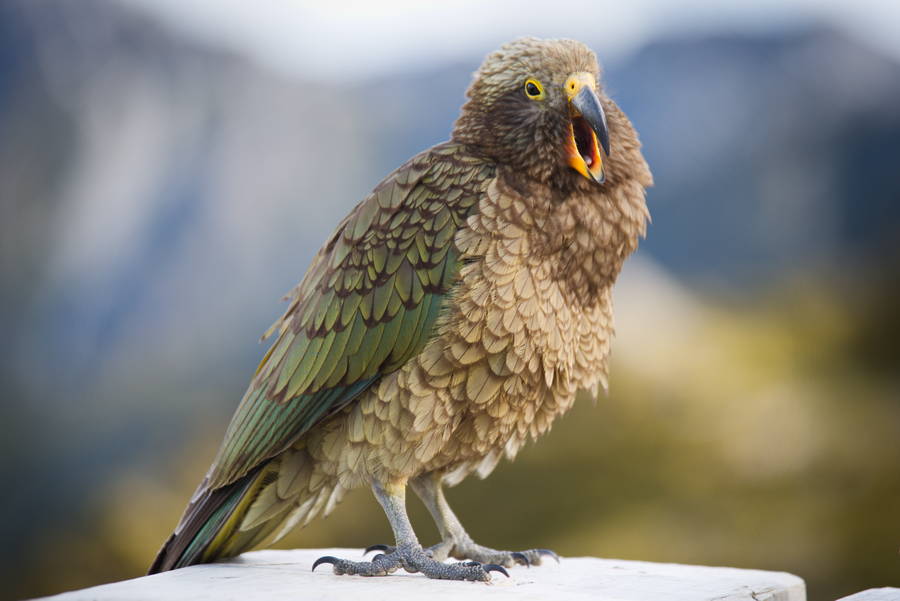
Shutter Speed is used to freeze action. For example, imagine you were photographing a bird in flight with your shutter speed set to 1/100th of a second. Although 1/100th of a second may seem pretty fast, a bird in flight will travel several inches in that time and as a result, will appear blurred in your photo.
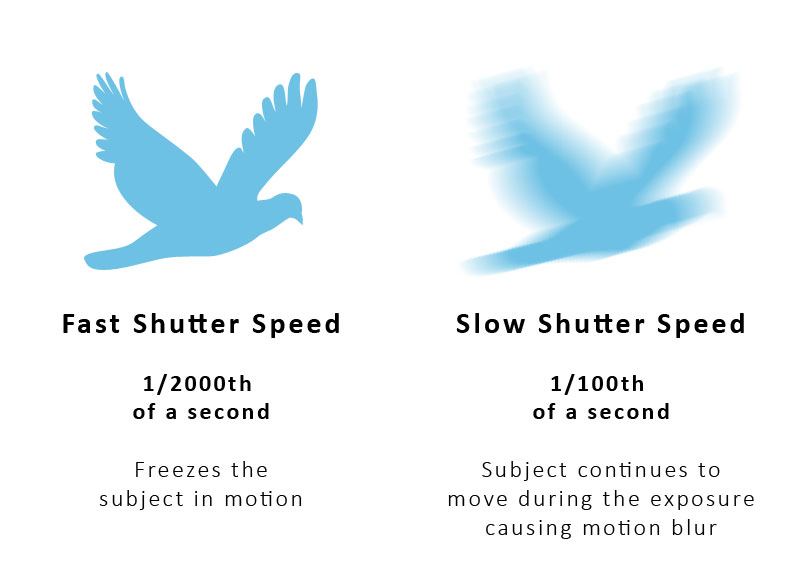
But if you were to set your shutter speed to 1/2000th of a second, the bird has little time to move at all and will be frozen sharp in your photo.
However, it’s not just birds and other rapid subjects. Even your kids and pets move fast enough to demand surprisingly fast shutter speeds. For instance, when taking family photos, I find it necessary to keep my shutter speed above 1/350th of a second to avoid blur.

If you tend to leave your camera in automatic mode, you should be aware that your camera doesn’t understand your subject or how fast it’s traveling. Thus, leaving your camera to set its shutter speed makes getting sharp photos a matter of chance.
Camera Shake
Cameras shake is a major cause of blurred photos. If your shutter speed is too slow, your photograph will capture the natural, unavoidable movement of your hands. As a result, the entire scene in front of you will be shaken into a blur.
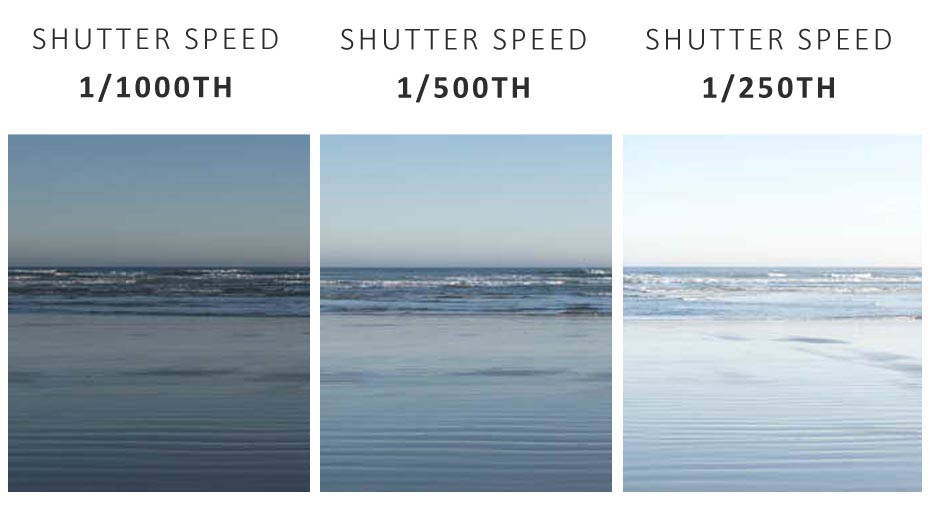
The example below shows two photos, one taken at 1/50th of a second and another at a much-too-slow, camera-shaking 1/20th of a second.
The rule of thumb is that your shutter speed should be no slower than your lens’s focal length. In other words, if you are using a 50mm lens, your shutter speed should exceed 1/50th of a second. It does get a little more complex than this and it’s well worth you checking out my article on How to Avoid Camera Shake.
Setting your own shutter speeds for sharper photos
Setting your shutter speed is much easier than you think thanks to a setting called Shutter Priority.
What is shutter priority?
Shutter Priority is just like your camera’s automatic mode except you set your shutter speed whilst the camera takes care of everything else; just like it would in automatic point-and-shoot mode.
Therefore, if you are taking photos of your dog running on the beach, turn your camera on, set it to shutter priority, dial in a sufficiently fast shutter speed, and take some photos. It’s that easy.
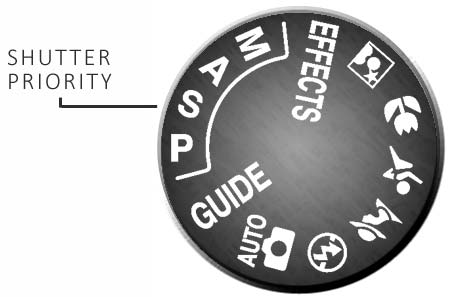
On most DSLRs and mirrorless cameras, Shutter Priority is located on your camera’s mode dial under S or Sv. Once set, you can increase and decrease your shutter speed by turning one of your camera’s dials. If your camera lacks dials, you may need to dive into the menus.
Tips for using shutter priority
1. Experiment
At first, finding the right shutter speed for your situation is a matter of trial and error. If you are photographing a moving subject, start with a moderately fast shutter speed such as 1/500th of a second, take a test photo, and check your results. If your subject has been frozen sharp, your shutter speed is fast enough. However…
2. Use a shutter speed no faster than you need
You might be tempted to cover all situations and dial in a very fast shutter speed such as 1/2000th of a second. However, this is not as sensible as it sounds.
Faster shutter speeds reduce the amount of time your camera’s film or sensor is exposed to light. This means your light-starved camera will compensate by using larger apertures or boosting ISO – both of which may degrade your photo’s image quality.
Therefore, if your ideal shutter speed is 1/350th of a second, use 1/350th of a second.
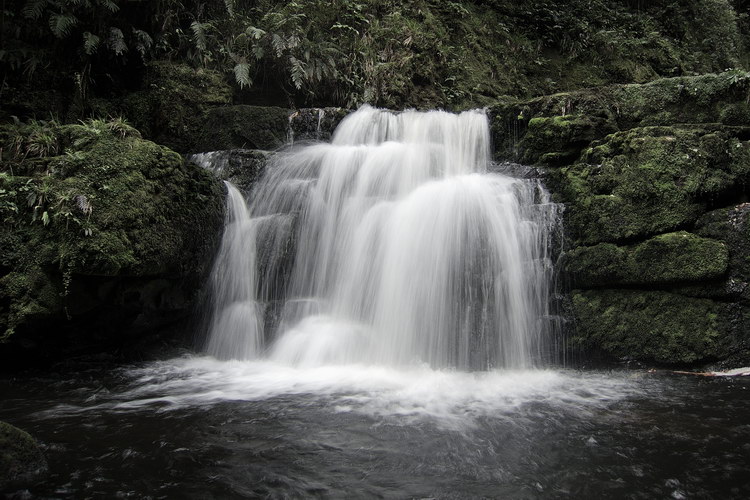
3. Try inducing motion blur
Sometimes, motion blur looks cool, like when photographing a waterfall. Therefore, try using shutter priority to force slow shutter speeds and cause motion blur. Note, to avoid camera shake, you may need a tripod.
Conclusion
Many blurred photos are down to cameras automatically selecting an overly slow shutter speed. After all, your camera does not know your subject nor your creative intent. Therefore, setting your shutter speed to suit your situation will lead to sharper photos.
Of course, some of you may find this intimidating. But thanks to Shutter Priority mode, it’s barely more difficult to use than your camera’s automatic mode.
Initially, you may be uncertain what shutter speed to use. At this point, I can’t be much help since the best shutter speed differs depending on the subject, lens, and situation. But if you are looking for somewhere to begin, I find 1/350th of a second ideal for everyday photos of the family.
However, with a little practice, you will soon develop enough experience to anticipate the right shutter speed for the sharpest results.
Have you used shutter priority before? Feel free to share your experiences and tips in the comments below.
Learn a few photography tricks
When you subscribe to my weekly email, you get a free photography guide. And it’s pretty good!
Free Photography Guide
5 Amazing Photography Hacks everyone should know