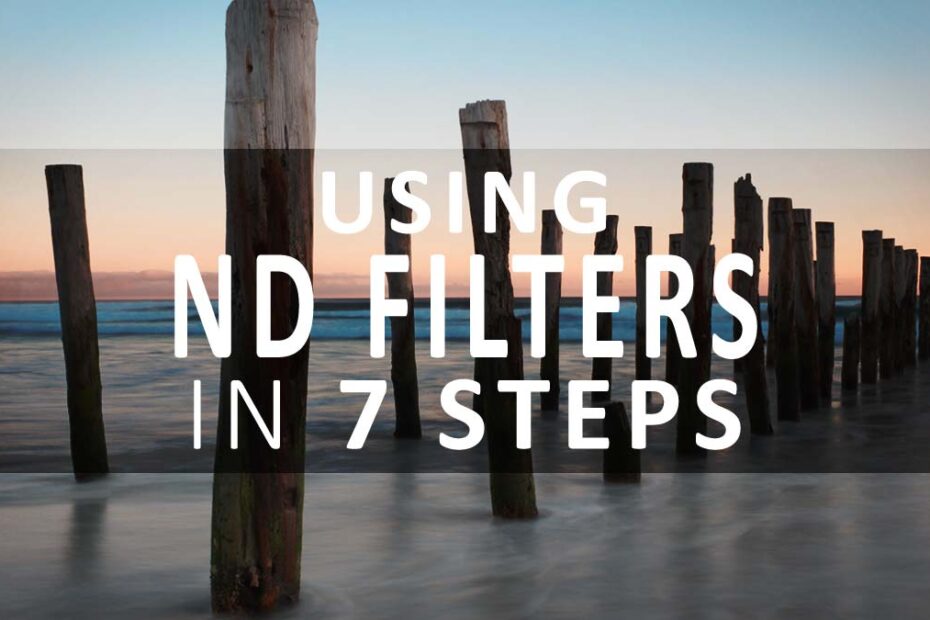
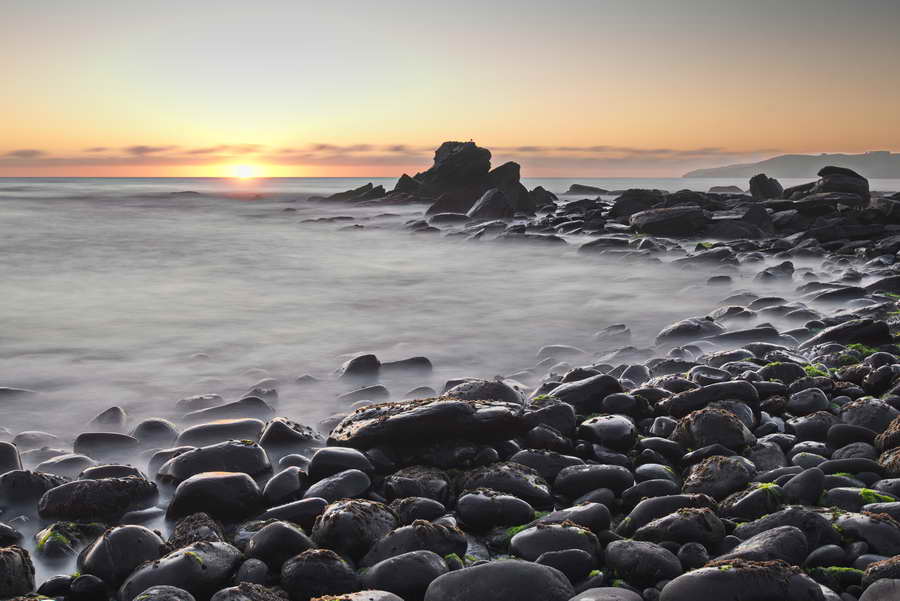
There are several reasons why you might use ND filters for Landscape Photography. However, ND filters are usually used to induce severe motion blur to scenic elements such as water and clouds.
However, using ND filters can be frustrating if the proper process is not followed. Therefore, here is my tried and tested 7-step process to ease your way into using ND filters for Landscape Photography
1. Compose your photo
The job of an ND filter is to reduce the amount of light passing through your lens into your camera. In fact, stronger ND filters such as the 10-stop reduce incoming light 960-fold.
As a result, you may be unable to see anything through your camera’s viewfinder (or rear screen) and nor will your camera be able to meter exposure and autofocus.
Therefore, to compose your shot, meter exposure, and set focus, you must begin the process without your ND filter being attached.
Learn how to compose your photos using the rule of thirds
2. Mount your camera to a tripod
Tripods cannot compete with the speed and ease of handheld photography. Therefore, I recommend you find and frame your shot before screwing your camera down.
Once you are happy with your composition, deploy your tripod and replicate your framing.
3. Set Focus and Exposure
With your camera attached to your tripod, set focus and your desired shutter speed, aperture, and ISO. Your objective is to find what shutter speed you need for perfect exposure without the ND filter.
It’s important to set focus before attaching your ND filter since your camera will have insufficient light to autofocus with the ND filter attached. Furthermore, you may be unable to see anything through your viewfinder making manual focus difficult.
Learn Photography Essentials: If you have yet to break free of your camera’s automatic modes, gently ease your way towards manual photography with these free essential guides.
4. Take a test photo without your ND filter
Take a test shot to make you are happy with your composition, exposure, and sharpness. Take your time and make sure you are happy with the results before moving onto step 5.
5. Attach your ND filter
Whether you are using screw-on ND filters or a slot-in system, take care not to cover your filter with fingerprints, dirt, or scratches.
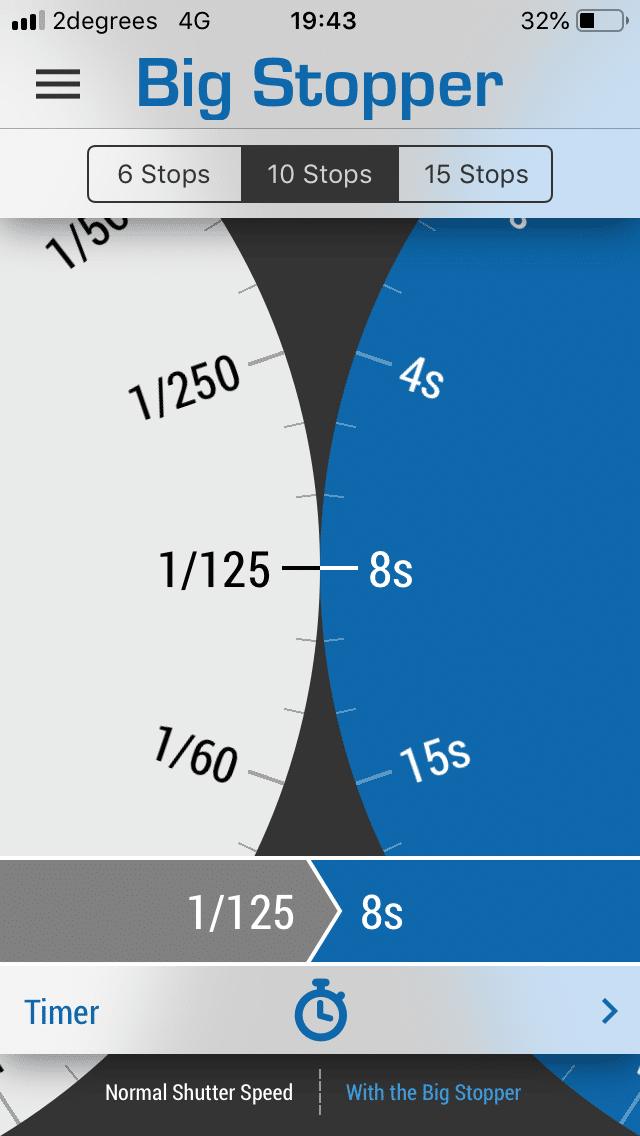
6. Calculate Exposure with ND filter
If you worked out your ideal exposure requires a shutter speed of 1 second, you must now adjust your shutter speed to accommodate your ND filter.
For example, a 3-stop ND filter requires you to slow your shutter speed by 3 stops. Therefore, a 1-second exposure becomes an 8-second exposure (1,2,4,8). Learn all about Stops in Photography
However, the easiest route is to download a free exposure calculator for your smartphone. I like to use Lee Filter’s Exposure Calculator though NISI’s app offers more functionality.
Once you have calculate the correct shutter speed for your ND filter, you can dial it in to your camera and take your photo.
7. Take the Photo
All going well, your photo will come out great the first time. However, it’s more likely you will need to adjust your exposure settings since your light may have changed since step 3.