In this post, I will show you how to back up your photos with Windows 10 using a service called File History. And not only is File History free, but you already have it on your Windows 10 computer.
Table of Contents
What is File History
File history is Windows 10’s file backup system. Whilst Windows Restore is used to back up your system in case your computer ceases to work correctly, File History is used for backing up your photos and files.
Once set up, File History will automatically monitor and back up all your important folders and files to a drive of your choice. For instance, you might want it to backup your main photo folder to an external hard disk.
Best of all, File History records the changes you make. This means whatever you delete from your photo collection is automatically deleted from your File History.
Overall, File History is a reliable, infinitely cheap, and hands-off way to protect your photos and files.
What do you need
If you have Windows 10, you already have File History. Therefore, you just need something to store your backups on.

I recommend external hard disks for a few reasons. First of all, they are the cheapest way to access a large amount of storage.
Secondly, they can be detached from your computer creating an ‘air gap’. In other words, a disconnected drive is isolated from your network, thus isolated from malware and ransomware attacks. And finally, you can easily move an external drive and keep it at another location.
How to backup your photos with File History
Time needed: 10 minutes
How to backup your files and photos using Windows 10 File History
- Open File History
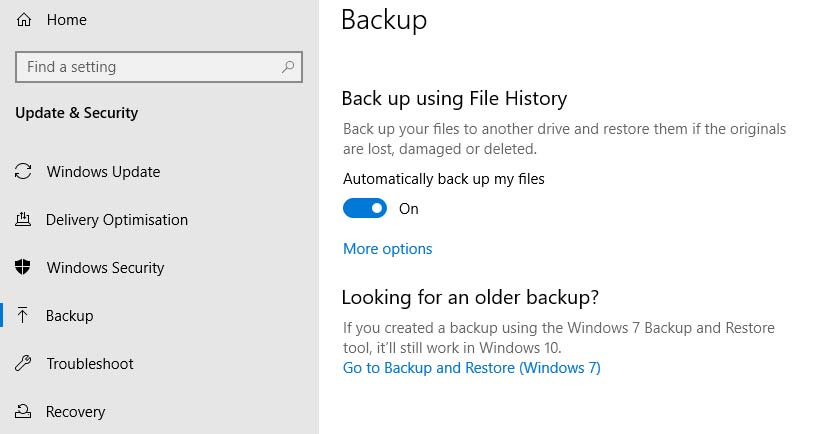
Open the Start Menu and click on the Cog icon to access Settings. Then click Update & Security. On the left-hand side menu, click Backup. Alternatively, type Backup Settings into your Windows 10 search bar.
- Add your drive
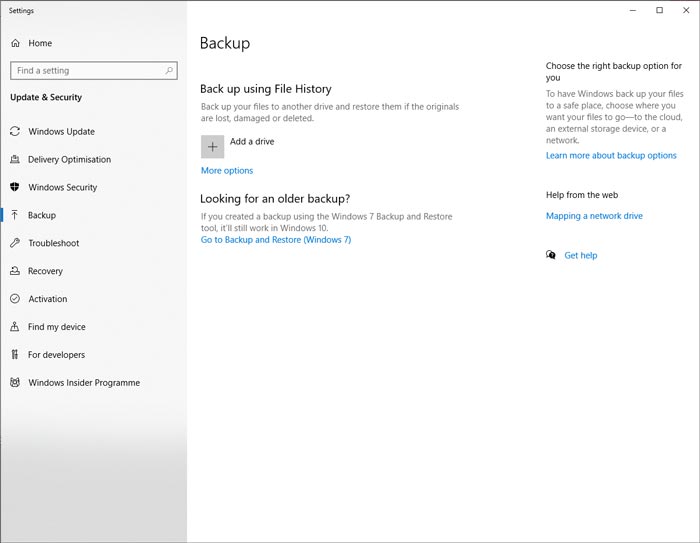
Connect your backup drive to your computer and select Add a Drive. A pop-up will appear – select the drive you wish to use.

- Activate File History
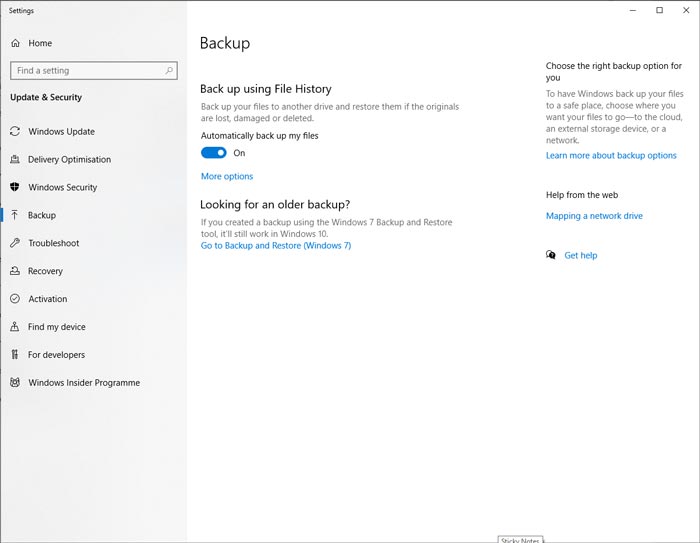
Where it says ‘Automatically Backup my Files‘ – ensure the slider is set to the On position and select More Options.
- Choose which Folders to Backup
Windows 10 File History automatically chooses all of the folders associated with your user profile such as My Documents, My Music, Desktop, etc.
However, you can click Add a Folder to add additional file locations. You can also specify the backup frequency and how long it holds on to older versions of your files.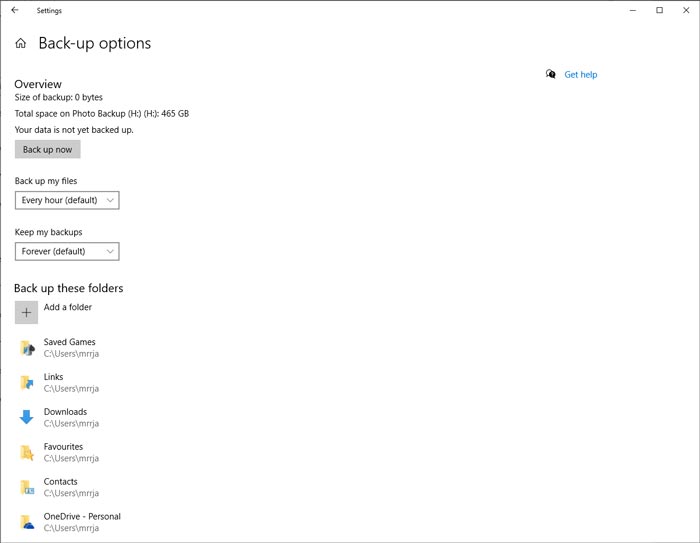
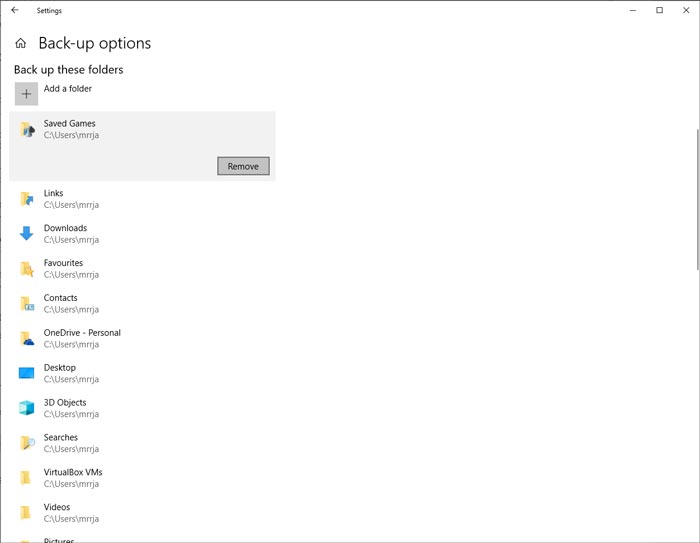
- Remove the folders you don’t want to backup
If Windows has selected folders you don’t want to backup. Click on the applicable folder and select Remove. Please note, this is rather a slow process.
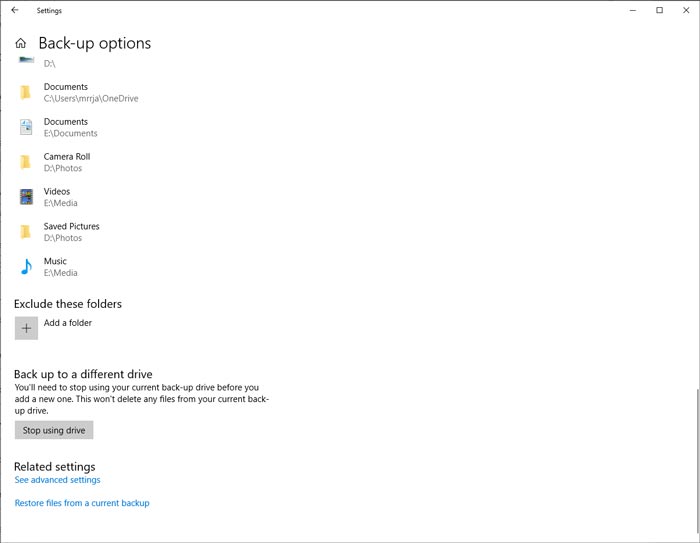
- Excluding Folders
In the case where you wish to exclude a sub-folder from your backup – scroll to the bottom to where it says Exclude these Folders and click Add a Folder.
- Confirm Backup has begun
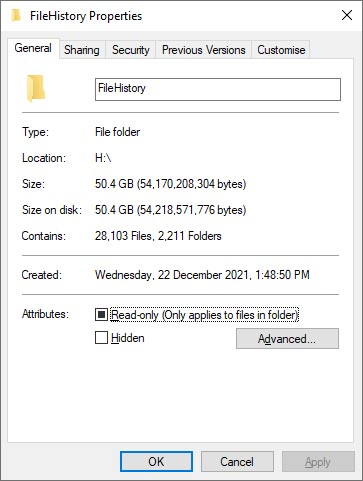
The best way to do this is to open File Explorer and check your drive. It should now have a folder called File History and should be filled up with your files.