No one likes a noisy photo of a great memory. But with a little know-how, you’ll be able to avoid taking noisy photos altogether. In this post, we look at the steps professionals take to avoid photo noise. And as a bonus, I will show you the best way to fix noise in the photos you’ve already taken.
What is Photo Noise
Imagine you’re listening to an overly quiet recording. Since you can’t hear much, you turn up the volume. Now you can hear much more of the recording but a lot of hiss and noise as well.
It’s much the same with photos. If you take a photo in darker conditions, your camera may not receive enough light to produce a bright well-exposed photo. To compensate, your camera will, in practical terms, boost the signal (measured by ISO). And by boosting the signal, the photo will appear brighter but so will the noise. Read What is ISO
How to avoid Photo Noise
The reality is that photo noise is always there but you can overwhelm its presence. In technical terms, this means a high signal-to-noise ratio with the signal being the light coming from the scene.
With lots of light, your camera can produce a vividly bright photo without the need to artificially boost the brightest. And because there is no boost, your camera’s noise levels remain at minimum levels. In other words, you get lots of detail and minimal noise.
Of course, this is easy if you’re shooting on a bright sunny day. But what if you’re shooting a sunset or inside a dim interior space? Here are 5 things you can try to reduce photo noise.
1. Choose better lighting
To avoid noisy photos, my first thought is always to find better lighting. This can be as easy as turning my subject towards a light source such as the sun, using a flash, or returning to the scene when it’s better lit. This might sound obvious, but I see people taking photos in the shade all the time.
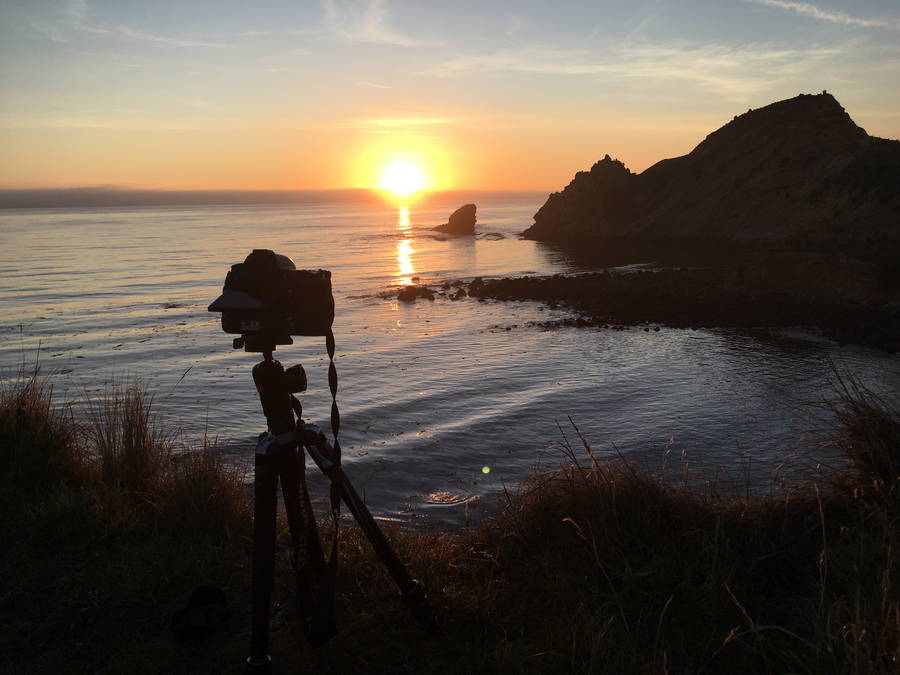
2. Use a Tripod
If you place your camera onto a stable platform such as a tripod, you can set your shutter speed to whatever you need without suffering camera shake and blur. In other words, if you need to set your shutter to stay open and absorb light for 30 seconds, you can. Read What is Shutter Speed.
3. Use large-aperture lenses
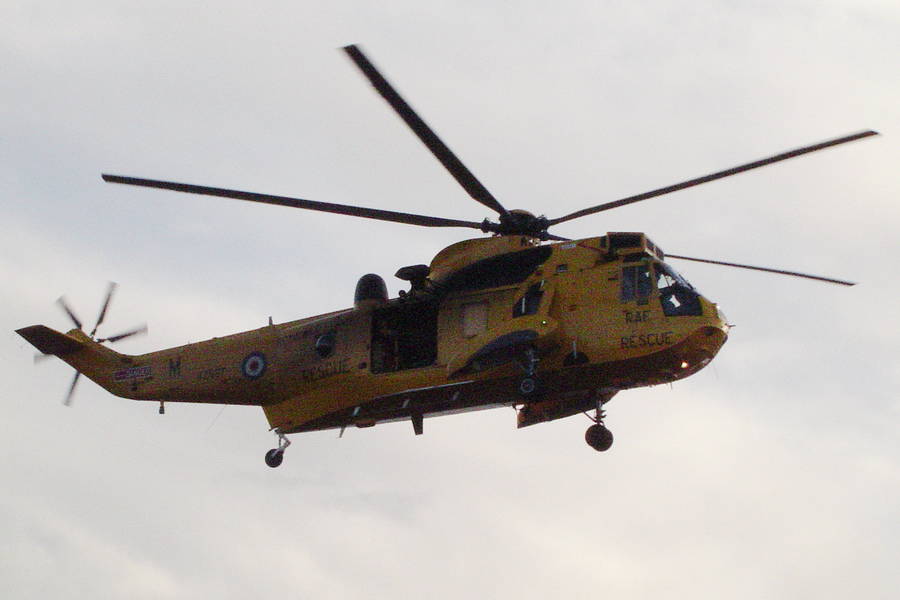
Photographing moving subjects in poor light presents a bit of a challenge as you must use fast light-starved shutter speeds to avoid motion blur. Because long light-soaked shutter speeds are off-limits, the objective becomes to get as much light as possible in the shortest amount of time. And that means you need a lens with a large aperture.
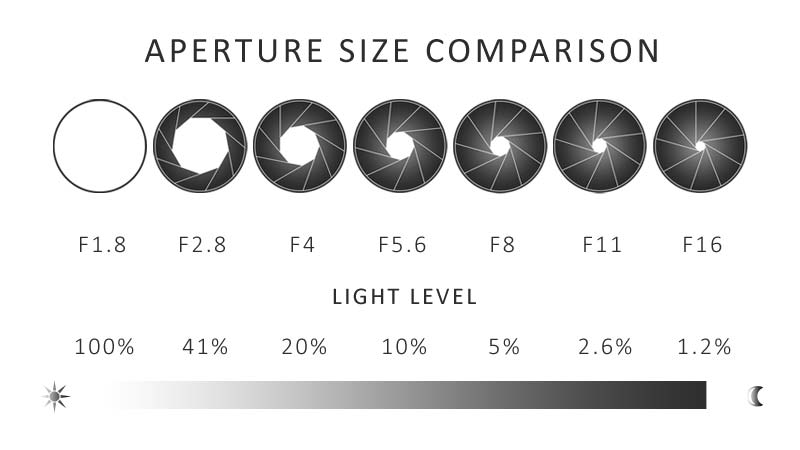
All lenses have apertures, but some lenses have larger apertures than others. For example, a lens with a large F2 aperture will soak up 4 times more light than a lens with a smaller F4 aperture. Or to put it another way, an F2 lens can capture the same amount of light as an F4 lens but in 1/4th of the time. Read Ultimate Guide to Aperture.
The downside is that large aperture lenses can be large, heavy, and expensive. But there are exceptions such as the common 50mm. Read 5 reasons why you need a 50mm.
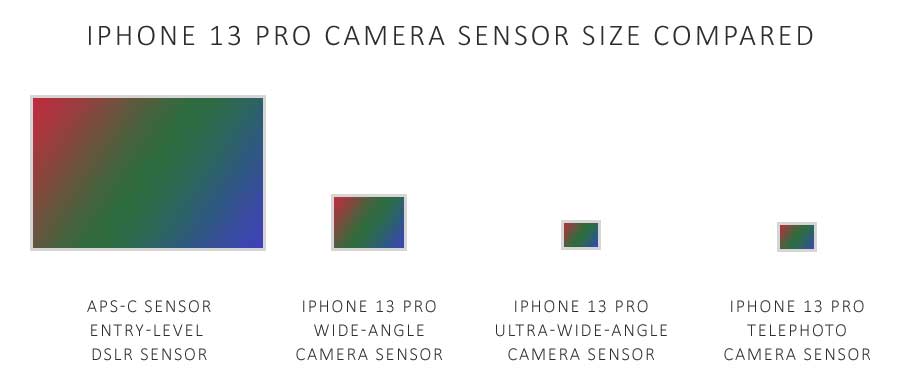
4. Large sensor cameras
Camera sensors come in many different sizes but a sensor twice as large collects twice as much light. For instance, the APS-C sensors in entry-level DSLR and mirrorless cameras can be up to 20-times larger than the sensors found in smartphones. As a result, you get 20-times the light and less chance of a noisy photo. Read Beginners Guide to Sensors.
5. Fix Noisy Photos
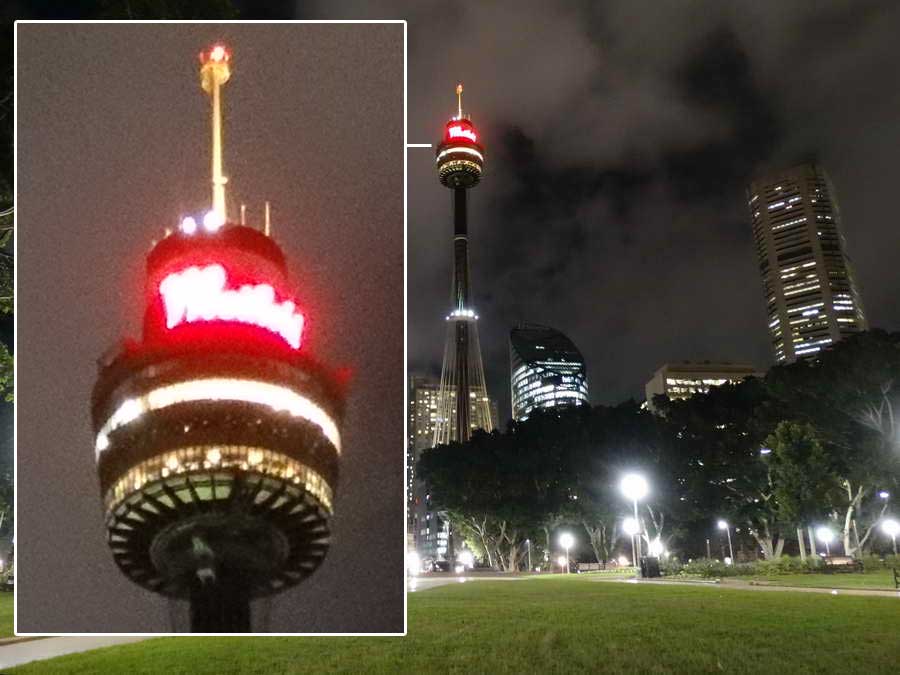
What if you can’t choose your lighting, camera, or lens? Well, there’s noise reduction. In simple terms, noise reduction identifies the noise in your photo and removes it. But traditionally speaking, this process also smudges away detail and results in strange wax work-like skin tones. This is particularly apparent with smartphone photos.
However, noise reduction has come a long way. Modern off-camera noise reduction software such as ON1’s NoNoise AI and Topaz Lab’s DeNoise AI strip noise and then use artificial intelligence to anticipate and replace detail. Amazingly, the applications can produce a more detailed clean version of the noisy original.
And best of all, this is a technique you can apply retrospectively to any photo you’ve ever taken. Read Denoise AI Review. For best results, turn off your in-camera noise reduction. This leaves more detail for DeNoiseAI and NoNoiseAI to work with.
Conclusion
In many cases, it’s easy to avoid taking noisy photos. In some cases, you just need to be aware of the lighting of your scene and if that fails – use a flash.
But if you’re photographing a still scene such as a landscape, a tripod can eliminate the noise problem entirely. Unlike you, a tripod can hold your camera absolutely still enabling you to set your shutter speed for 30 seconds, 10 minutes, or however long your camera needs to soak up sufficient light.
But if you’re photographing moving subjects, you are forced to use faster shutter speeds to avoid motion blur. This means you need a large sensor camera and/or large-aperture lenses since both capture more light at any given moment. If you’ve ever wondered why sports photographers use such massive lenses, there your go.
And finally, if photo noise is unavoidable, there’s noise reduction software. Whilst your camera will feature its own noise reduction software, modern artificial intelligence-based applications such as Denoise AI and NoNoiseAI are vastly superior. And best of all, you can apply these wonder tools to all the noisy photos you’ve already taken.