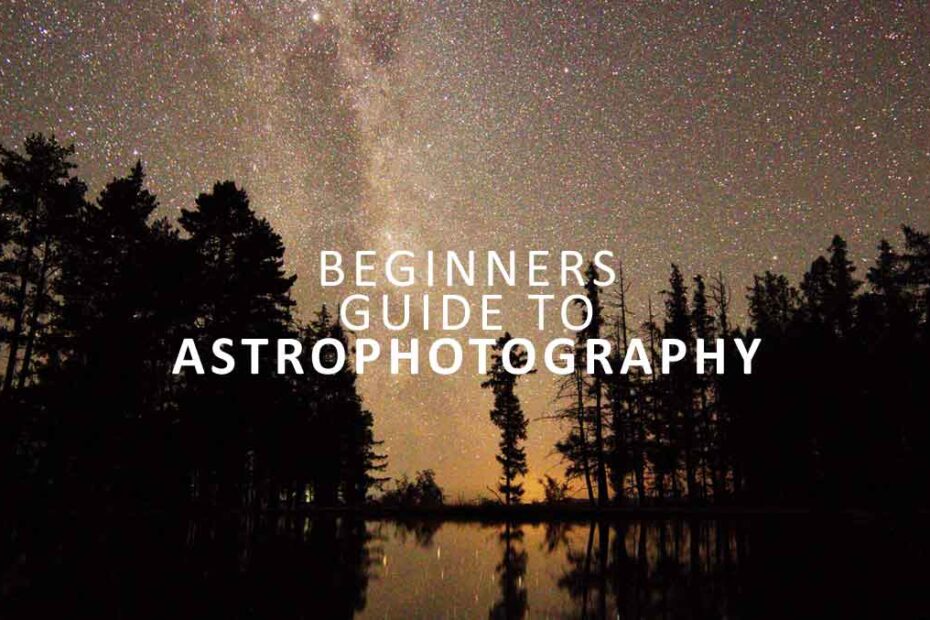
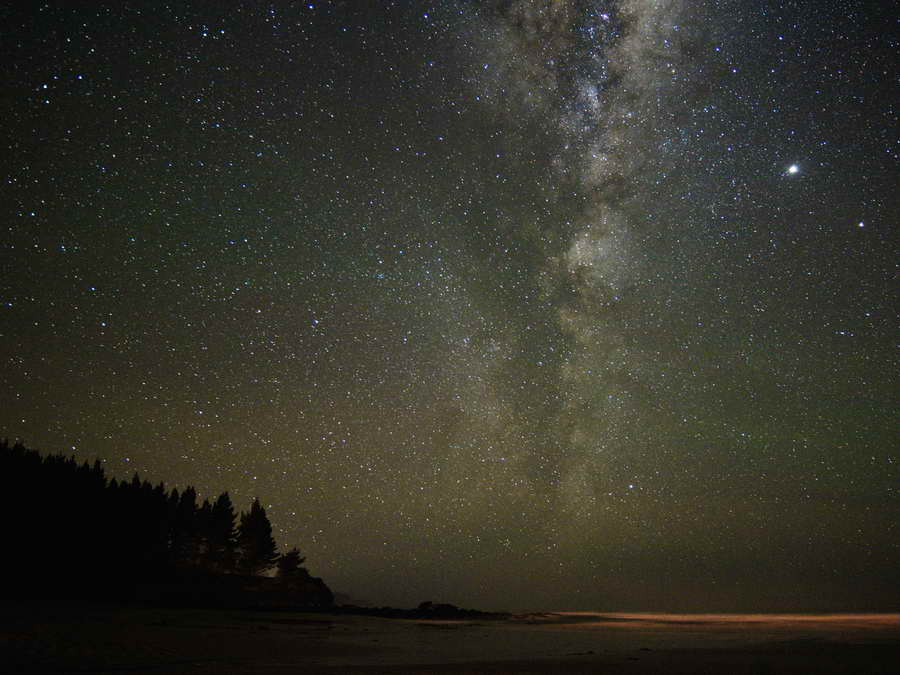
Welcome to Astrophotography for Beginners, a how-to guide that will teach you everything you need to know to take photos of the Milky Way. This includes astrophotography basics, the ideal camera for astronomical photography, and the best astrophotography camera settings.
Furthermore, I will share some astrophotography tips like why you should use a red-light torch and how you can predict the best times for astrophotography. Finally, I have included an 8-step guide to help you inch your way towards your own Milky Way masterpiece. Jump straight to Astrophotography in 8 steps
Table of Contents
What is Astrophotography
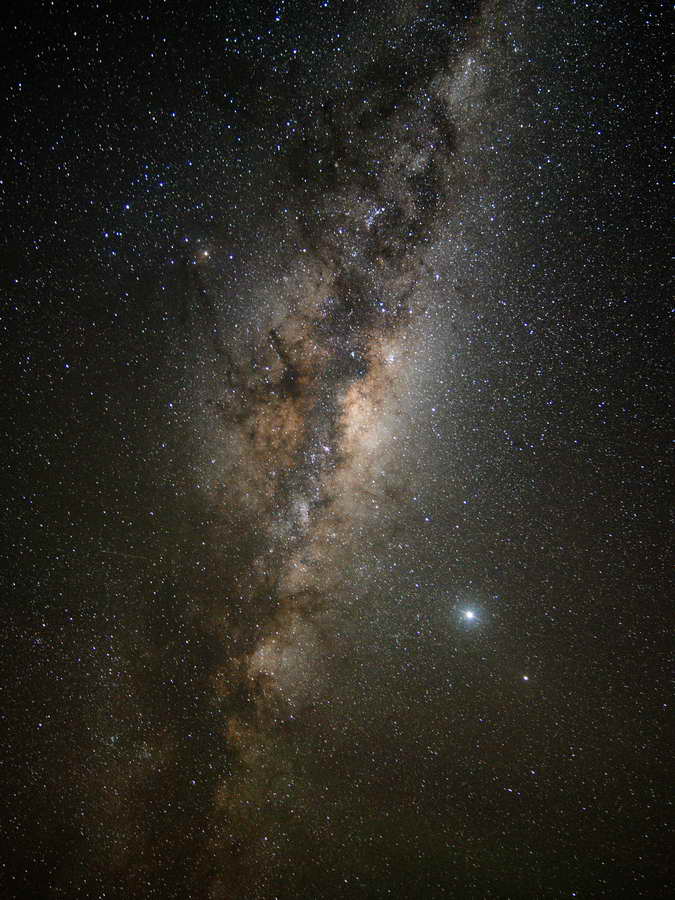
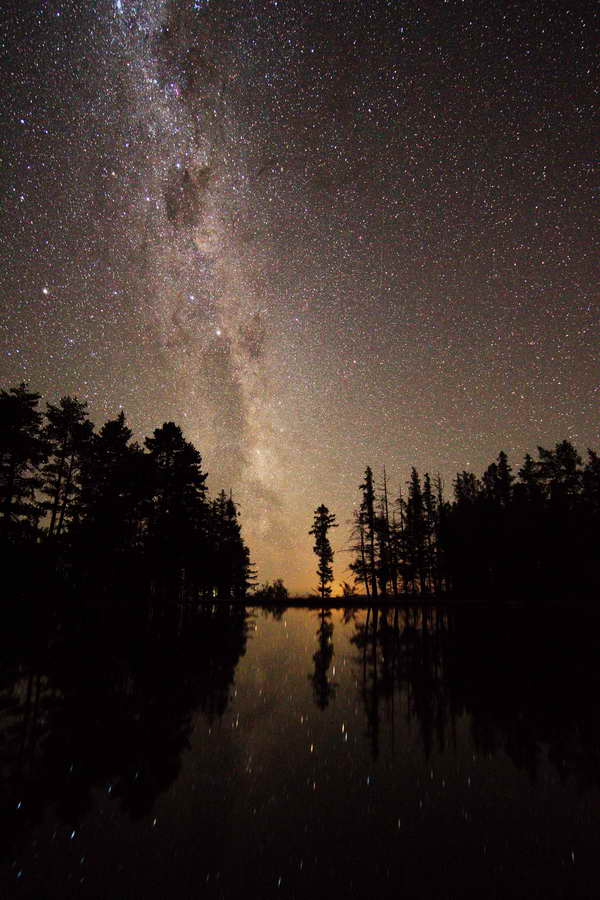
Astrophotography is photographing the night sky. This can include star constellations, planetary bodies, and the Milky Way.
This beginner’s guide focuses on photographing the Milky Way since photographing planetary bodies, such as the Moon, requires a different process.
Astrophotography is a race against time. Due to the rotation of the Earth, stars are in constant motion. Therefore, to photography pin-sharp stars, you must use a shutter speed fast enough to ‘freeze’ the stars in place.
But at the same time, use a shutter speed slow enough to collect as much light as possible. Read: What is Shutter Speed
What is the Best Camera for Astrophotography
The best cameras for astrophotography feature a large sensor, manual settings, and interchangeable lenses. If you are looking for specific recommendations, check out the best cameras for beginners.
1. Large Sensor
In Astrophotography, you need to capture as much light as possible as quickly as possible. Therefore, the best cameras for Astrophotography are those that feature larger image sensors.
This is because a large sensor will always catch more light than a smaller sensor in the same way a large bucket will collect more rainwater than a smaller bucket.
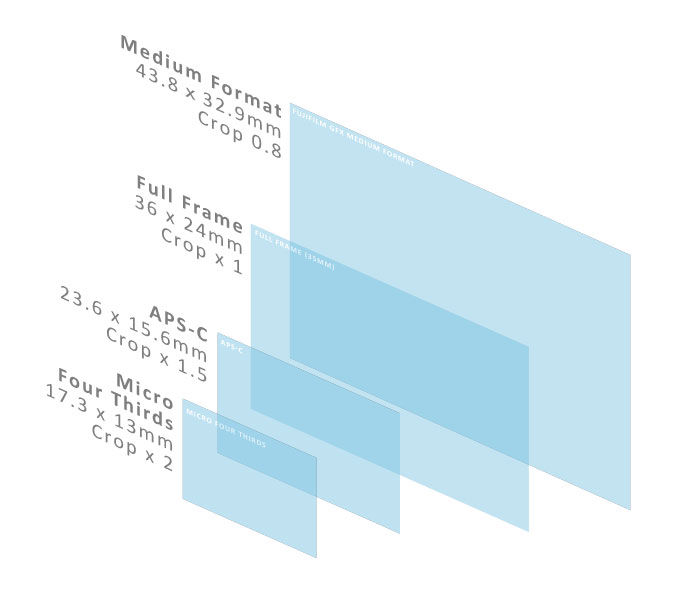
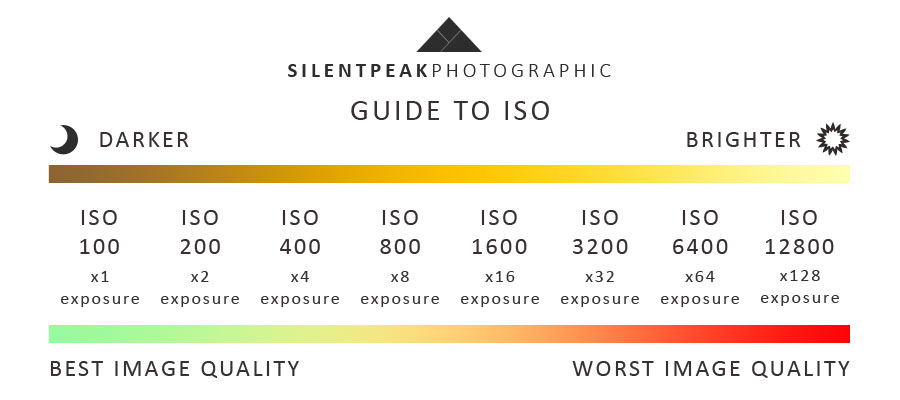
Because large sensors collect more light, they produce better results at high ISOs and enable you to capture brighter photos in less time. Read more about ISO.
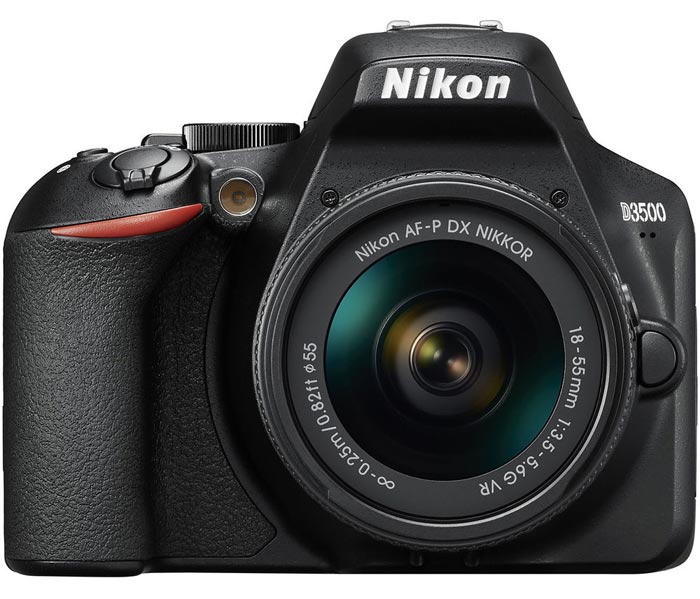
Fortunately, such a camera need not cost you a fortune. For instance, entry-level DSLRs such as Nikon’s D3500 or Canon’s M100 feature large APS-C sensors and are well suited to Astrophotography. Read Best cameras for beginners.
2. Manual Settings
Astrophotography camera settings are entirely manual. Therefore, you need a camera that allows you to set your own shutter speed, aperture, ISO, and manual focus.
In this regard, entry-level DLSR’s continue to be a good camera for Astrophotography thanks to their generous supply of control points.
3. Interchangeable Lenses
The best lenses for Astrophotography must feature a large, bright aperture and a short focal length.
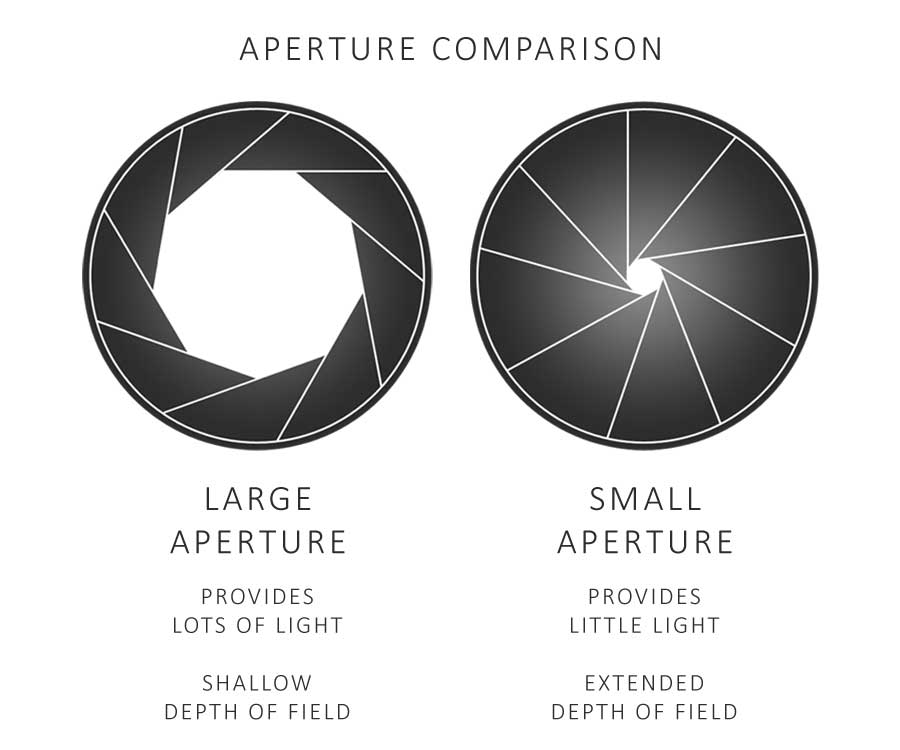
3.1. Large Aperture
Astrophotography requires you to capture as much light as possible as quickly as possible. Therefore, you need a lens with a large, bright aperture. Read What is Aperture
For example, a 28mm lens with a large F1.8 aperture will capture 4 times more light than a 28mm lens with an F4 aperture.
3.2. Short Focal Length
Furthermore, longer focal lengths exaggerate the movement of the stars. As a result, you must use shorter, darker shutter speeds to avoid star-motion blur.
For instance, you can only expose for 10 seconds with a 50mm lens before the stars begin to appear blurred.
However, you can expose for 27 seconds with an 18mm lens. In other words, an 18mm lens gives you three times more light than a 50mm lens. Read What is Focal Length
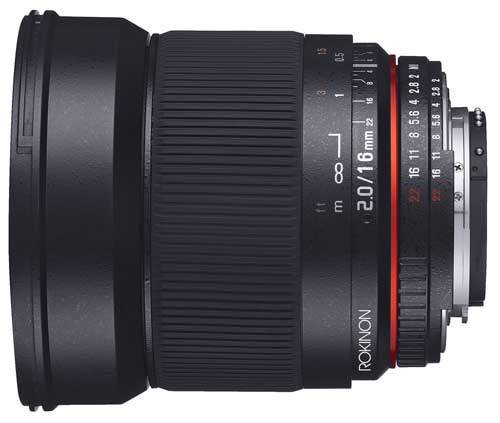
3.3. Best Lenses for Astrophotography beginners
Overall, the best lens for astrophotography is one with a large aperture and a short focal length. The manual focus-only Rokinon 16mm F2 is a great example.
You can even use the standard 18-55mm kit zoom that comes with most entry-level DSLRs. However, their maximum F3.5 aperture, at 18mm, isn’t the brightest.
Astrophotography accessories
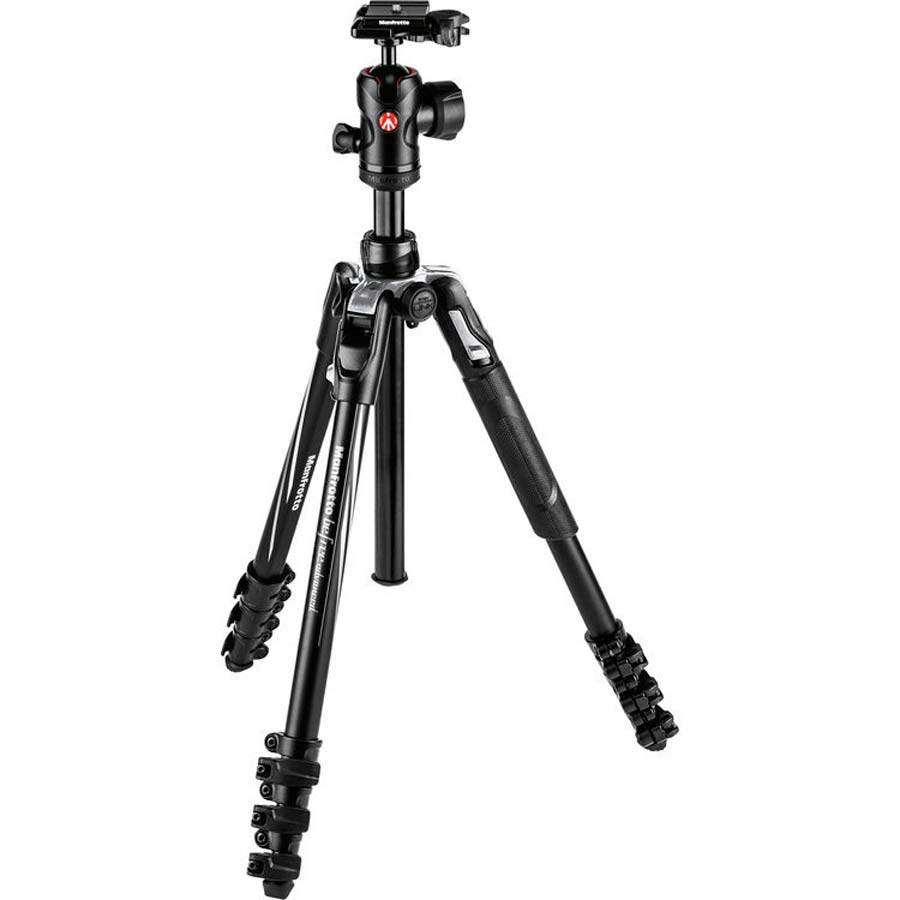
1. Tripod
Handheld photography is not a viable option for Astrophotography since your exposures are likely to be at least 10 seconds long. Read about Camera Shake
As a result, you will need a tripod. Whether you expose for 10 seconds or 10 minutes, your tripod will keep your camera steady and your photos sharp.
I recommend you avoid buying a cheap tripod because if you buy the right tripod, you’ll never buy another.
A good tripod is light, sturdy, and features easy-to-use controls. For stills photography, I recommend ball-joint tripods but each to their own. Note, metal tripods get crazy-cold at low temperatures. So pack some gloves, or go carbon fiber.
2. Remote Shutter Release
Even pressing your camera’s shutter release is enough to wobble your camera and potentially blur your photo. To prevent camera shake, try these 3 solutions.
2.1. Set your camera’s timer
By using your camera’s timer, you are introducing a delay between pressing the button and the camera taking the photograph. A 6-second delay should give your camera enough time to steady itself before exposure.
2.2 Use a remote shutter release
Remote shutter releases come as wired cable releases or Infrared remotes. However, some newer cameras allow you to trigger your exposure using your smartphone.
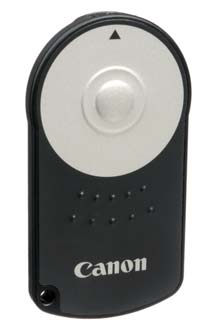
Remote shutter releases enable you to take a photo without touching and destabilizing your camera.
Additionally, if your camera has a ‘bulb’ mode, a remote shutter release may be essential for exposures exceeding 30 seconds – ideal for shooting with ultra-wide lenses or for capturing extended star trails.
2.3 Enable Exposure Delay mode
More expensive DSLRs offer an option to lift the mirror a few seconds before taking the photo, thus reducing the vibration caused by mirror slap (sounds funnier than it is).
If you have exposure delay mode, use it. But no big deal if you don’t.
3. Warm Clothes
The best time for Astrophotography is winter since it gets dark sooner, and you get sharper photos thanks to the cold, haze-free air.
Therefore dress warm and wear a pair of gloves, especially if you are using a cold-conducting and hand-chilling Aluminum tripod.
4. Microfiber Cloth
Thanks to the cold, your lens will frequently fog over. To avoid blurred photos, treat your lens to a wipe between exposures.
5. Head Torch with Red light
Astrophotography tip, buy a head torch with a red light mode.
As you know, your eyes will grow more sensitive to light if you spend long enough in the dark. Yet, even a momentary flash of white light is enough to instantly restore your eyes to daylight mode.
However, your night vision is not affected by a red light. Therefore, you get to combine your natural night vision and a torch without penalty.
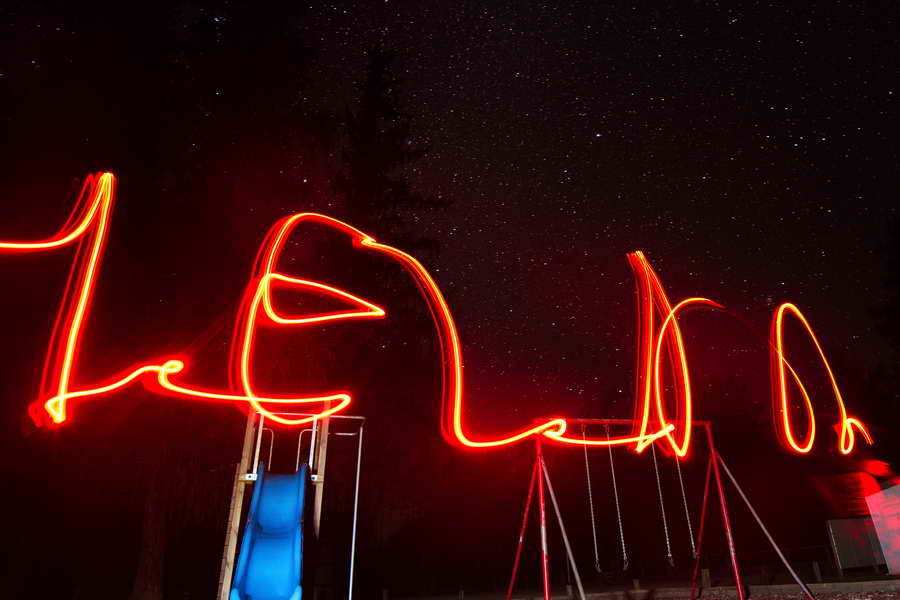
And if you get bored, you can even try some light painting!
Best conditions for Astrophotography
Winter is a great time for Astrophotography. Not only does it get dark sooner, the cold air results in less shimmer and sharper pictures.
Obviously, you want as little cloud cover as possible, and you need to be well clear of strong light sources such as street lamps and the headlights of passing cars.
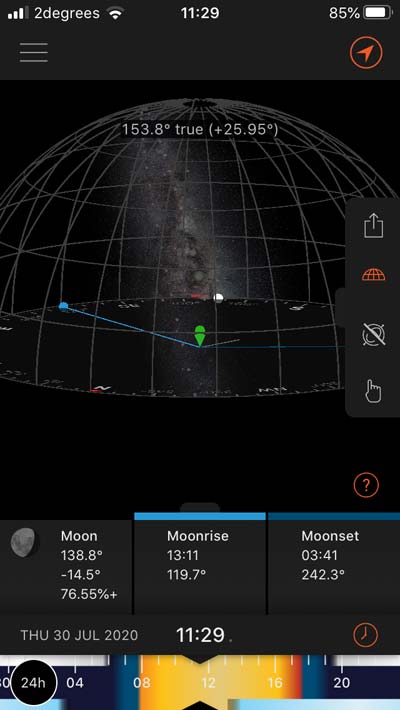
In fact, the biggest light pollution often arrives from the Moon so its best to go out when its on the other side of the planet.
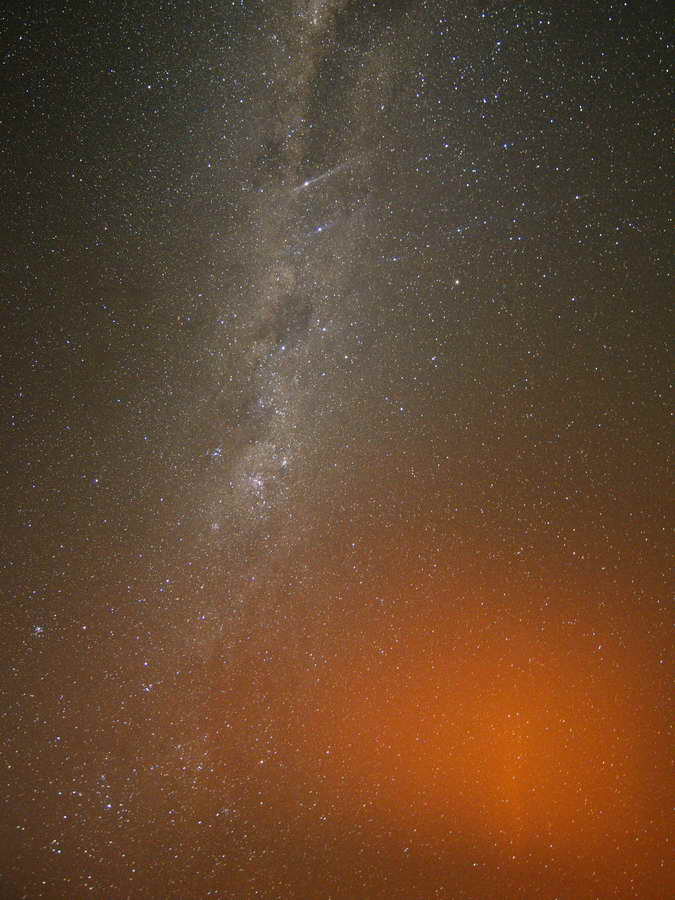
When the conditions are really good, the Milky Way is visible to the naked eye but if you need help finding it, apps such as Sun Surveyor show where it is and the best times to photograph it.
How to do Astrophotography
So you have the gear, a great location, and a nice scene to photograph. Here is an 8-step Astrophotography walkthrough on how to take your first photo of the stars.
Step 1: Compose your shot
Once you have chosen and framed your scene, deploy your tripod and mount your camera. Make sure your tripod is tight and sturdy since any movement or creep will be evident in your photo.
Step 2: Set your camera to manual mode
Manual mode is often accessible via a mode dial on top of your camera. It’s usually marked ‘M’.
You may need to refer to your camera’s instruction manual for these next steps.
Step 3: Set your aperture
Set your lens aperture to its widest setting. Aperture is measured in F-Stops with small numbers such as F1.8 been larger, brighter apertures than large numbers such as F11.
If you are using a kit lens, your largest, brightest aperture is likely to be F3.5.
Step 4: Set your shutter speed using the 500 rule
Your shutter speed must be fast enough to capture pin-sharp stars yet slow enough to capture as much light as possible. Read more about Shutter Speed
To find out the correct shutter speed to use, divide 500 by your focal length. For example, if you are using a 50mm lens, your slowest shutter speed is 10 seconds since 500 divided by 50mm equals 10 seconds.
Unfortunately, it gets a little more difficult due to different sized sensors. For instance, a 50mm lens on an APS-C sensor-based Nikon D3500 would have an equivalent focal length of 75mm. Therefore, you should divide 500 by 75 and use a shutter speed of 6 seconds.
However, if you want an easy life – you can download this 500 rule chart for free!
Step 5: Set your ISO
Set your ISO between 1600 and 3600. If you can achieve a sufficiently bright photo with a lower ISO, you should as high ISO’s degrade your photo’s image quality. Read more about ISO.
Step 6: Set your camera’s timer
For sharper photos, avoid wobbling your camera when you press your shutter release. The most immediate, affordable solution is your camera’s timer since it places a delay between you pressing your shutter release and the camera taking the photo.
Alternatively, you can purchase a wired shutter release. But since we no live in the future, I’d recommend an infrared remote. If your camera is compatible, you may be able to trigger an exposure using your smartphone.
Step 7: Manually Focus
It’s unlikely your camera’s autofocus system will have sufficient light to work. Therefore, you need to focus manually.
Since the stars are so far away, you will most likely want to set your focus to infinity. However, this can be more difficult than it sounds.
Therefore, I recommend you set focus and take test shots making any necessary adjustments as you go.
Step 8: Take the photo
That’s that, as they say.
Once you have your camera set up, there’s little to do other than stay warm whilst your camera exposes its sensor to the scene above.
Check your photos and make adjustments if you need to. If you are out on a cold evening, remember to keep your lens fog-free. A microfiber cloth will work much better than your T-Shirt. Good luck!
Free Photography Guide
5 Amazing Photography Hacks everyone should know